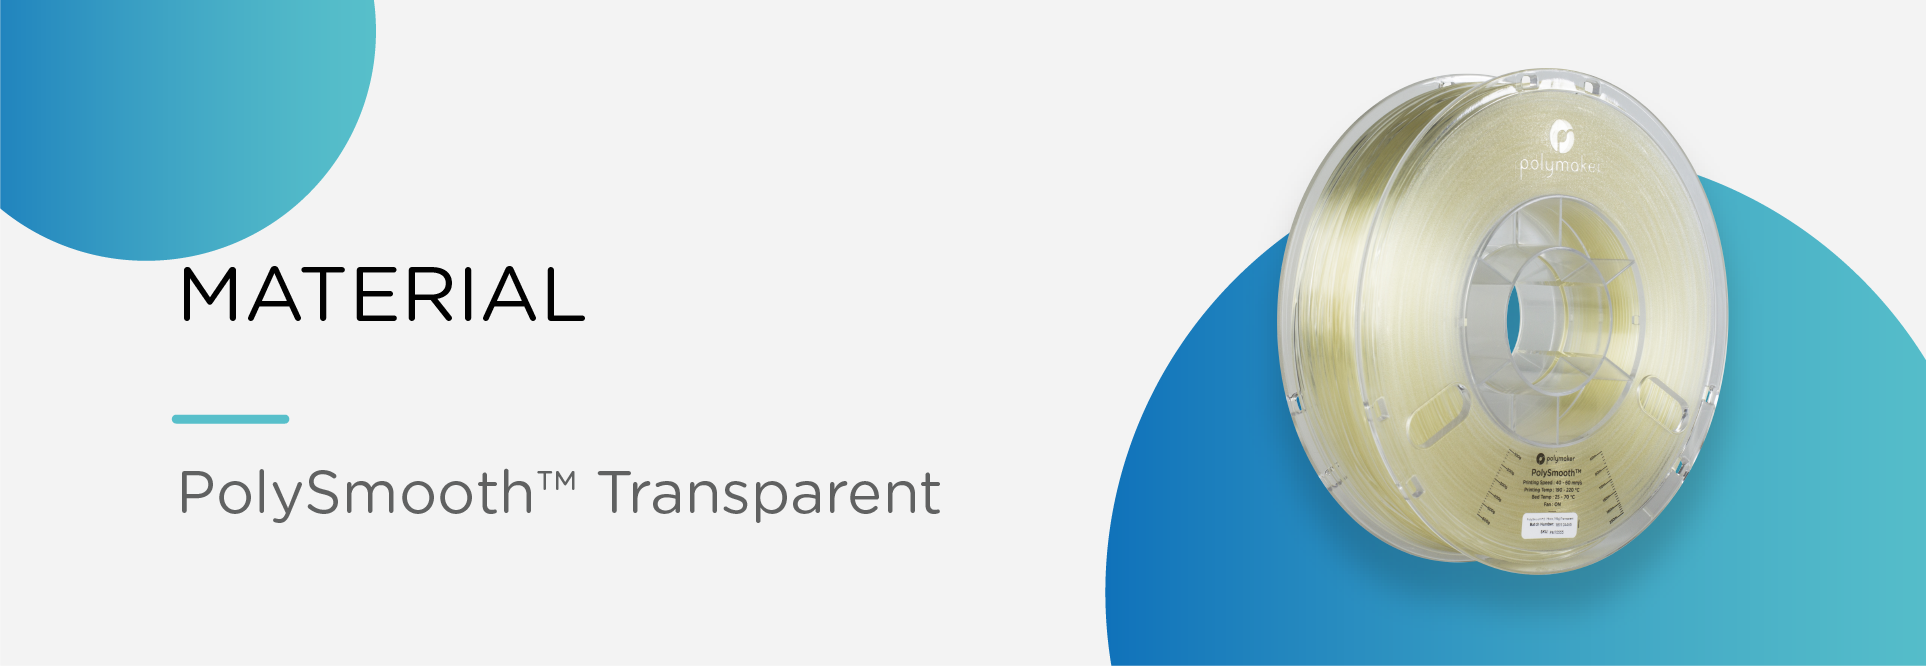
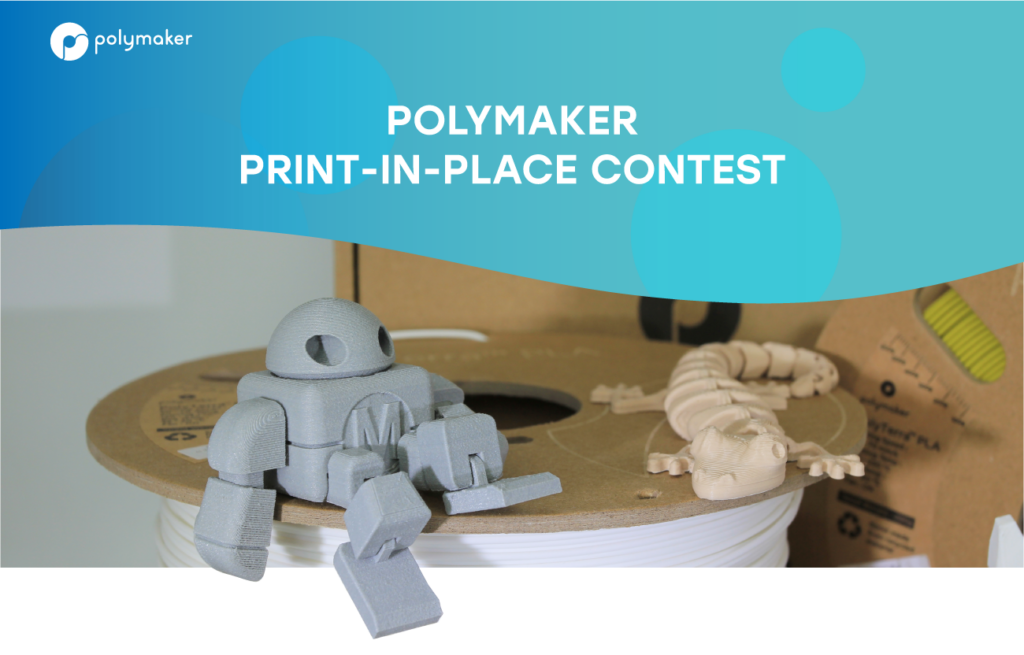
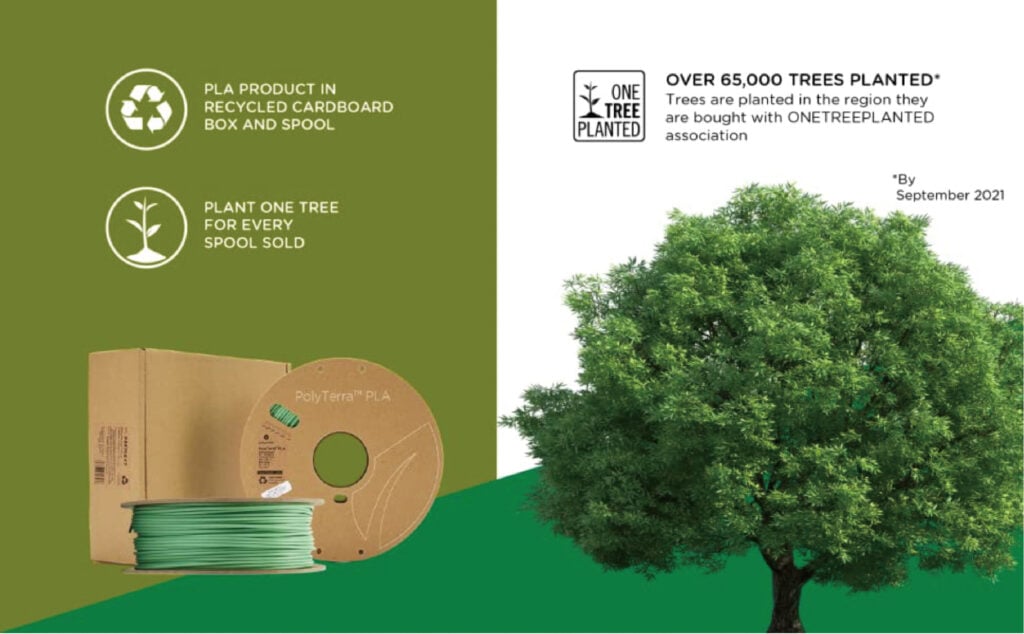
Perfectly clear 3D printed parts are possible with PolySmooth™ and here is the story of one of our customers. Mattias has shared with us his process creating a pair of lenses for the kitchen fan lights.
From: Mattias Lundberg
July 22nd 2021
I made a thing! well, two actually. I needed to fix something in my home and like so many times before I resorted to 3d printing and my favourite filament Polysmooth. Hi, My name is Mattias Lundberg and I love 3D printing. I´ve been doing this as a hobbyist for 6 years now and love to make the impossible possible and to push the limits just to be able to hold the printed part in my hand or see it functioning the
way it was intended.
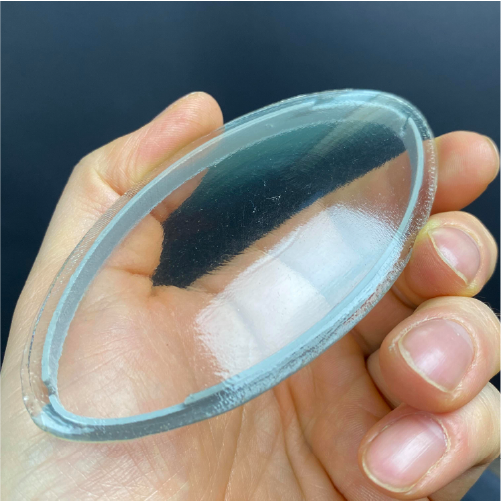
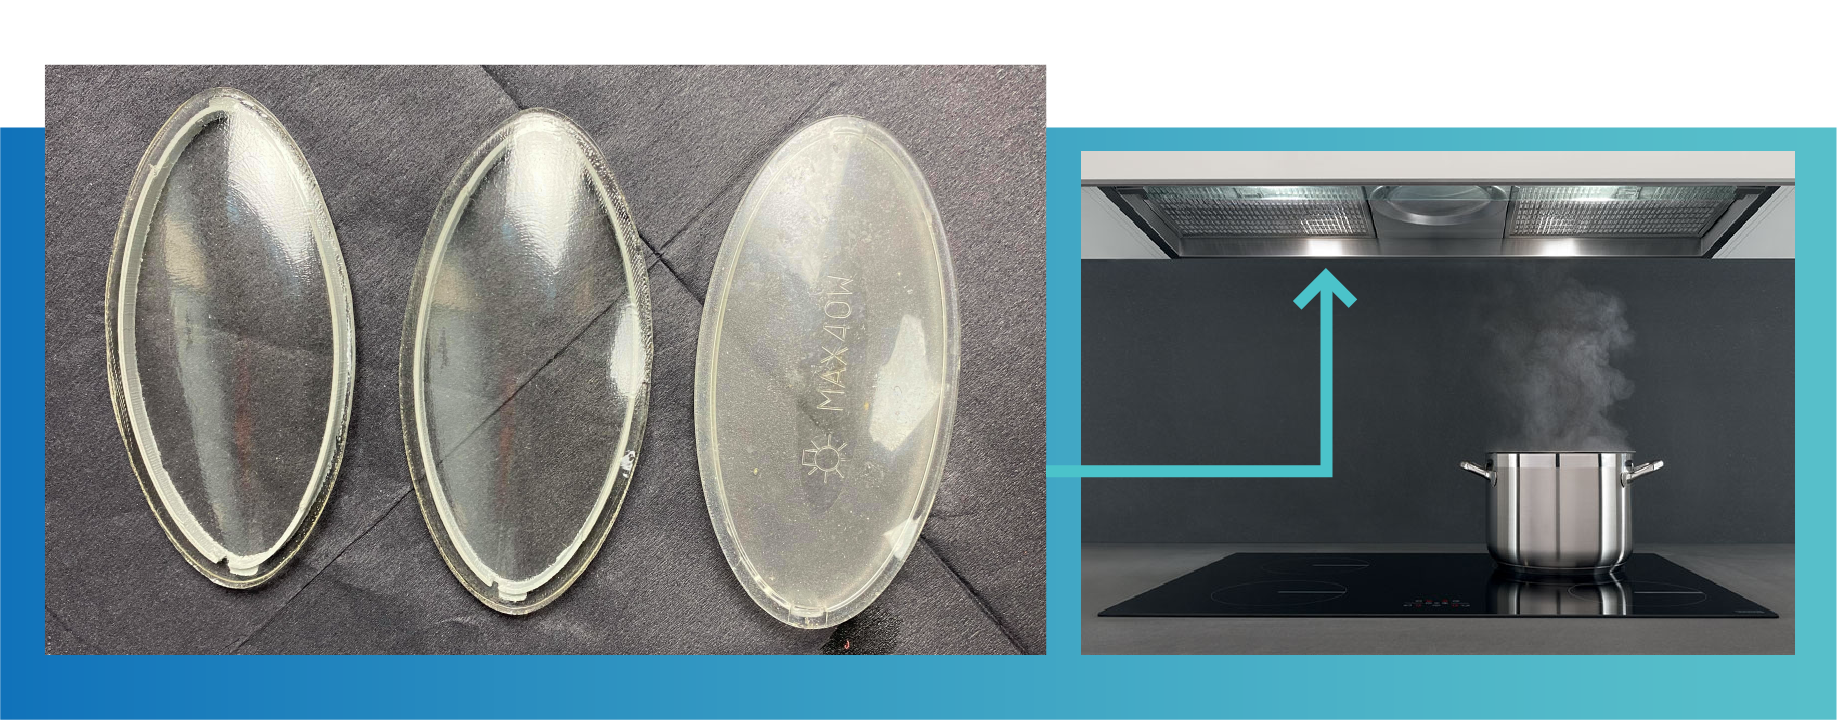
My task at hand this time was the light covers on my kitchen fan. Originally the lamps were very hot so my first attempt three years ago was with a super clear heat resistant material that...melted. But I realised that after all these years the original lights had been phased out to LEDs. THEY dont produce heat! Bingo! Lets try Polysmooth transparent!
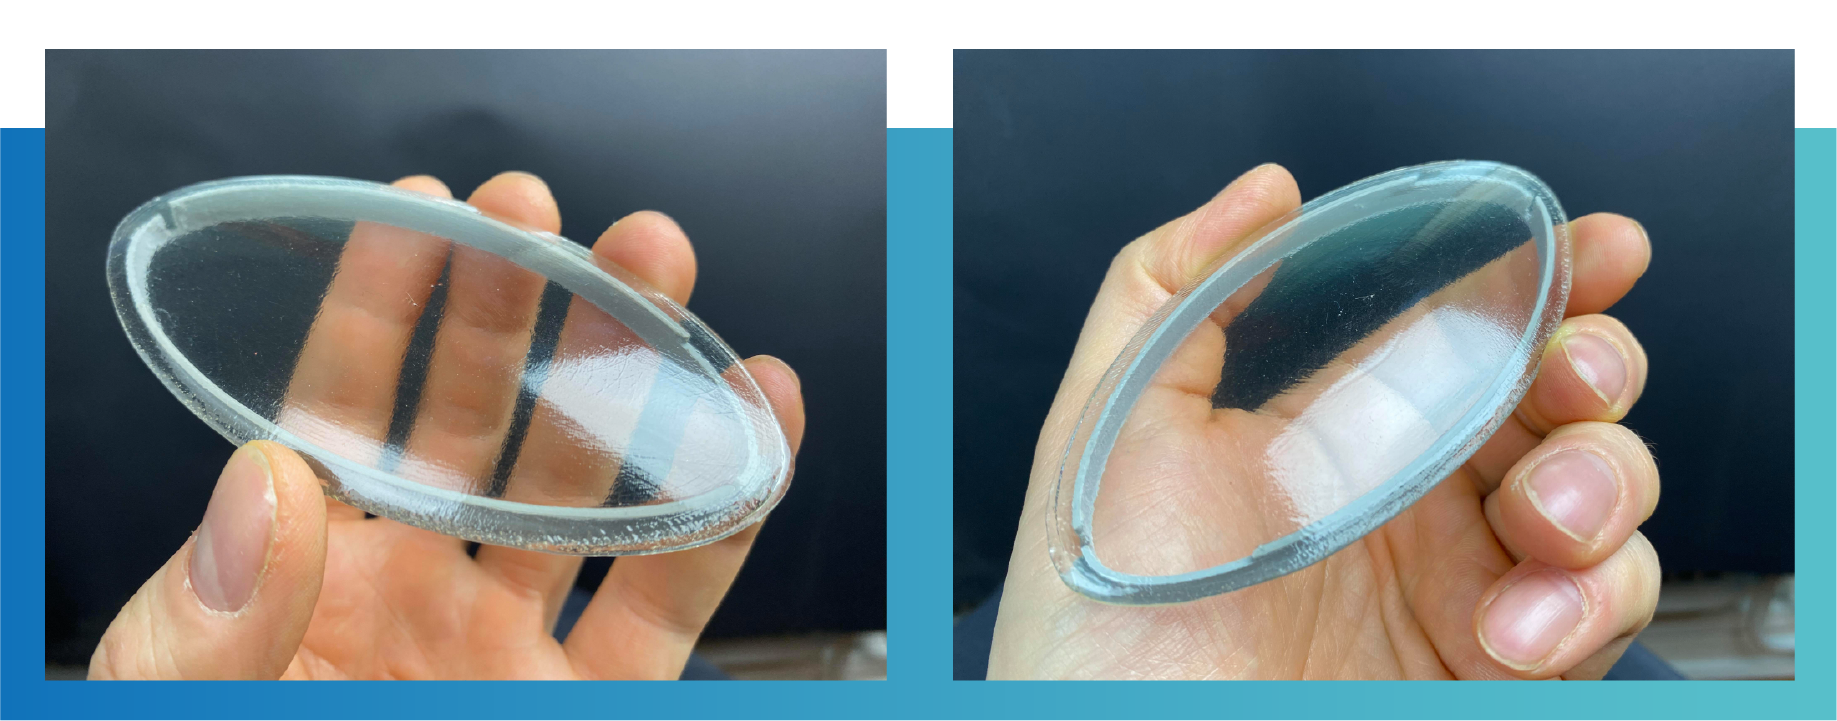
The object this time is a simple yet complex shape that had to be separated into the lens as one part and the frame with clips as the other. The frame with flexible clips had to be printed separately with a 0.4 nozzle while the lens must be printed with a thicker nozzle and only as a single perimeter wall.
This products really is made for resin printing but when you are hell bent to make it with an FDM printer that's what you gotta do right.
Something really important in order to reach success is to know not only your personal limitations but also the slicers, printers and the filaments limitations and roll with it and use them to your advantage. In short, trick the printer and filament in doing what you want it to.
I tried many different orientations and techniques and had a lot of failed prints and semi good results until I found the way!
This is a round bulgy object, it needs to stand on its edge, have low layer height and around 190 degrees nozzle temp. And printed in vase mode or spiralized as its called in Cura.
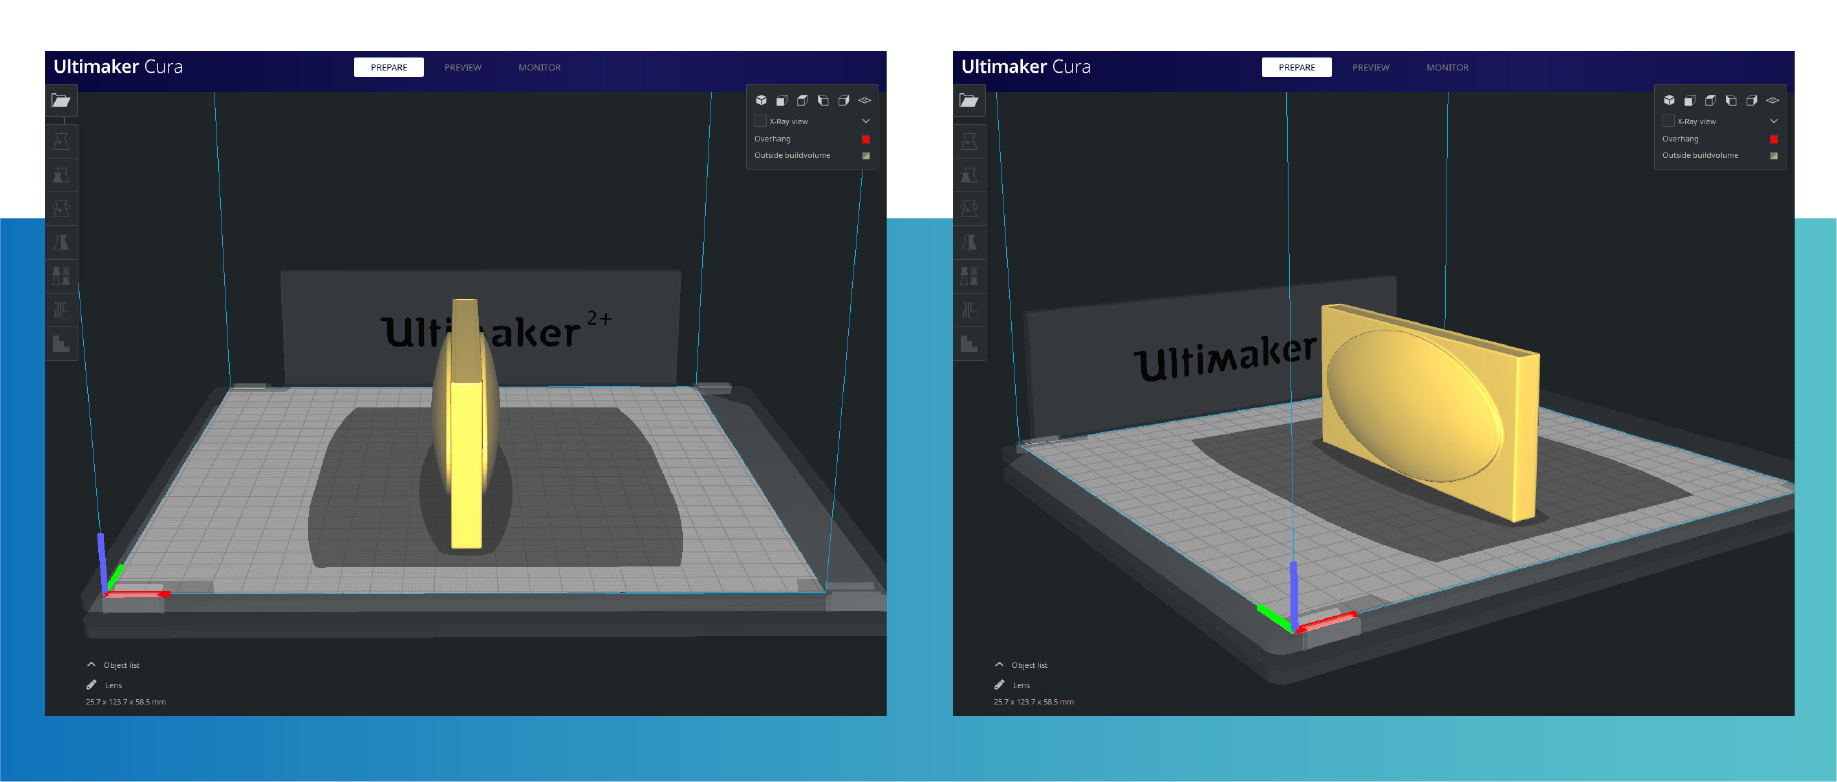
Therefore I made a single perimeter box with the lenses bulging out on the longer sides and printed it really thick (2 mm) to make it look like the original piece. This way the nozzle could go round and round printing both lenses without any disturbances.
Next step was to simply cut it out of the box walls and treat it with 100% Isopropanol, let it dry and sand it before final IPA treatment and done! I was holding two perfectly shaped, very clear and sturdy lens shaped covers in my hand. The frame was glued on and the whole piece was snapped into place and I know its gonna last a long long time. Thank you Polymaker.
Check out Mattias post and video of the prints on facebook:
https://www.facebook.com/groups/polymaker/posts/2728308607433197/


Please fill in the form below or if you have other questions are not included in the form, please contact us through [email protected]. We will get back to you soon.
Please fill in the form below or if you have other questions are not included in the form, please contact us through [email protected]. We will get back to you soon.