We'd like to present you with a Polymaker customer story. Check how AlemhReview uses PolyLite™ PETG to create his own Logo Lamp
Hello everyone,
Thank you for the opportunity to share and support my work!
For about 2 years I have been in the world of 3D printing and since 6 months I have opened my Instagram page and my YouTube channel (AlemhReview) in which I show my projects and my works. Over time the page has grown and I felt the need to have a physical space, a place dedicated to my social channels that had a distinctive sign. For this reason I decided to create and 3D print my logo and turn it into a lamp. I have to say thanks to Samuel Mazuy (@3dprint_design3d on Instagram) that helped me to model my logo aligning perfectly with my idea. He is very skilled and deserved so much!
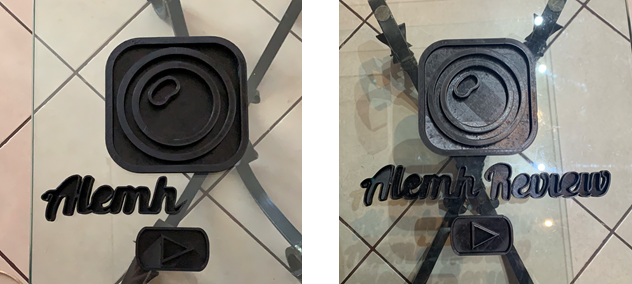
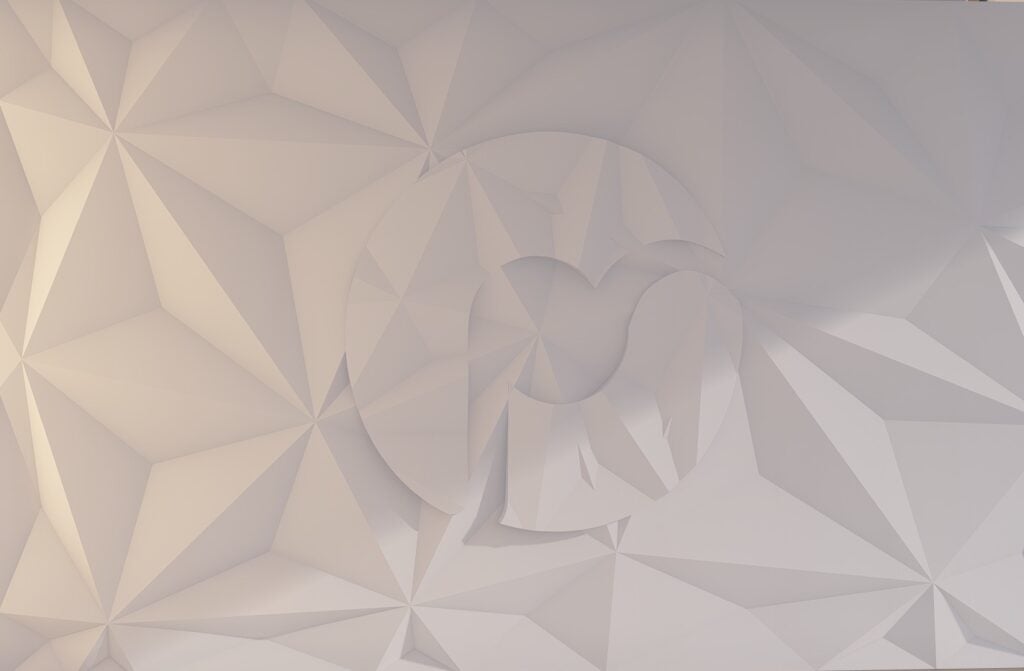
In these pictures you can watch to the first renderings of the model.

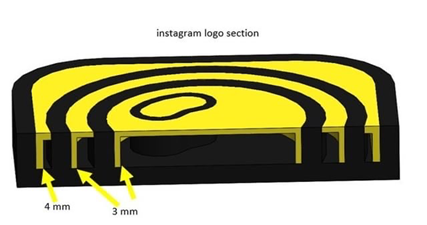
As you can see in the image below, the model was designed to contain lights inside that would have been chosen later:
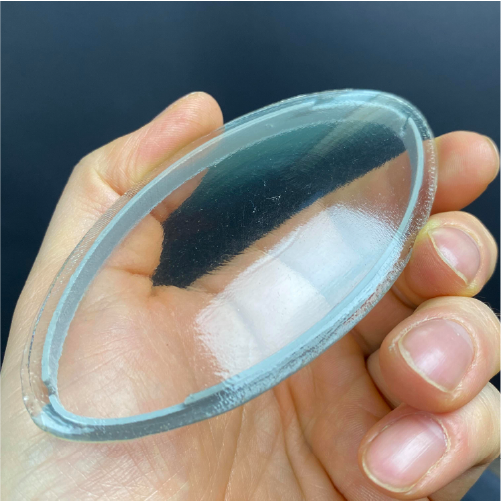
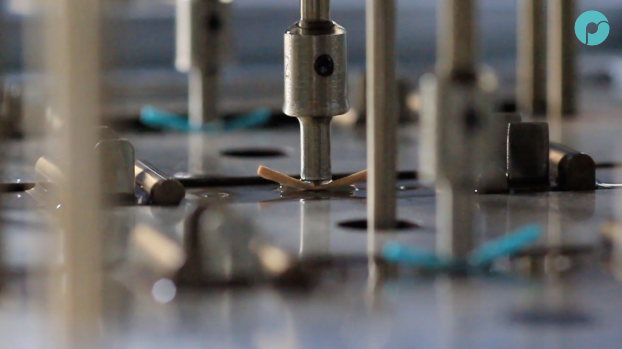
Once the model was ready I had to choose the material to use and thought the best choice was PolyLite™ PETG because I would have had to insert lights inside that would have generated heat and for this reason PLA would not have been suitable while materials such as ABS would have been excessive as well as being more difficult to print .The next step was to print all the about 18 parts so I divided file on Cura slicer based on color and size and start printing.
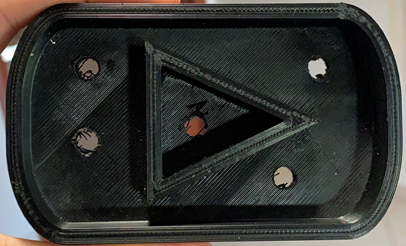
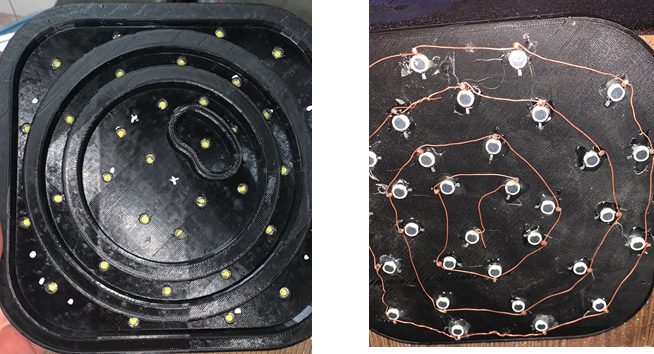
After I printed everything the difficult part began: the best option was to use single small led bulbs, but the difficulty for me was to find a way to fix them to the print and create an electrical system to turn them on, which I never did before. I like challenges and so I decided to go all the way and understand how to create the electrical system until I was able to create it. Beacuse of that I pierced the various pieces to be able to insert the bulbs.
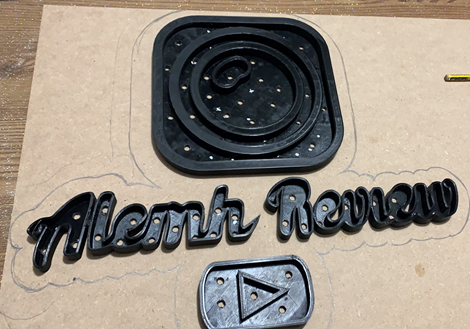
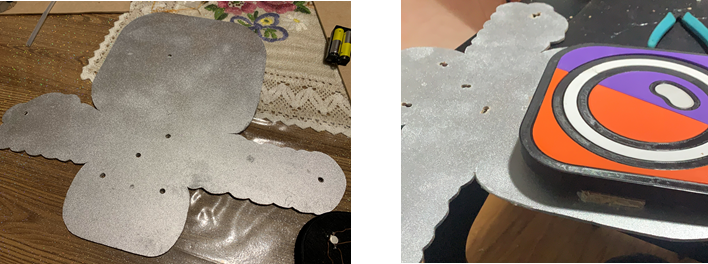
At this point I drew and cut a shape of my logo in pressed cardboard, which would have been useful both to give a background to the model and to hide the cables.
Then I glued the LEDs to the 3D printing with hot glue, maintaining an order of positive and negative poles in order to create a parallel lighting system. I recovered some copper wires and started to tie all the lights together and testing it:
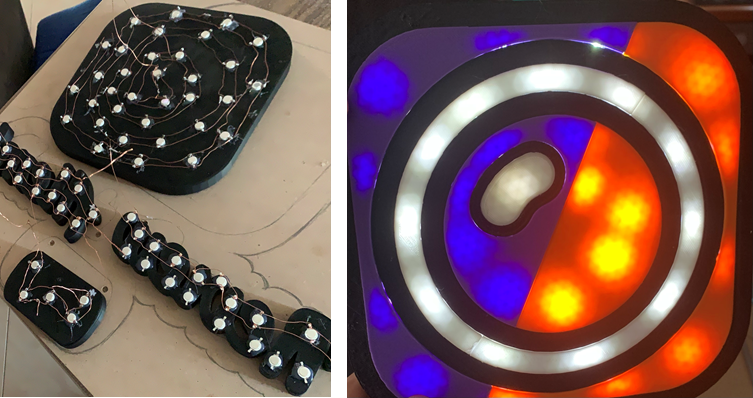
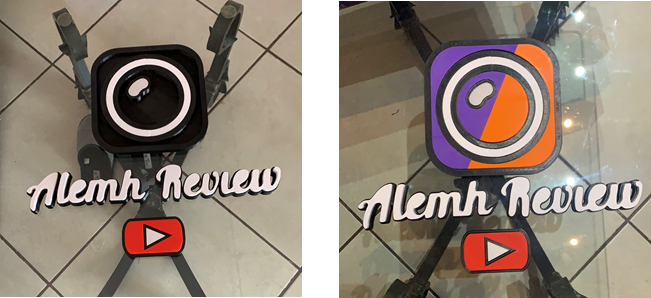
Next step, once the lighting system was finished, that remained was to paint the logo shape and fix the various prints to it through hot glue:
When the job was complete I plugged all the cables together and plugged in a socket of the correct voltage and an on / off button and finally I was able to fix it to the wall:
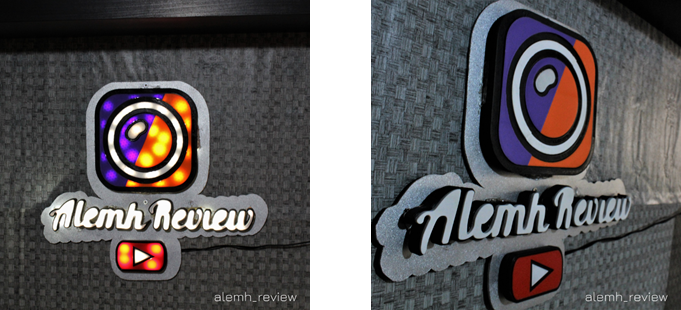
With these latest images here is a huge spoiler of my new little "studio", which is not yet complete, but finally has its distinctive feature in the center, the channel logo. I hope you enjoyed the project and that there will be new ones soon!
Keep printing and always believe in yourself!


Please fill in the form below or if you have other questions are not included in the form, please contact us through [email protected]. We will get back to you soon.
Please fill in the form below or if you have other questions are not included in the form, please contact us through [email protected]. We will get back to you soon.