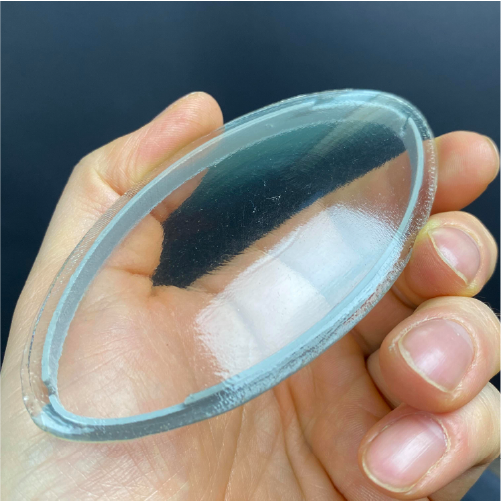
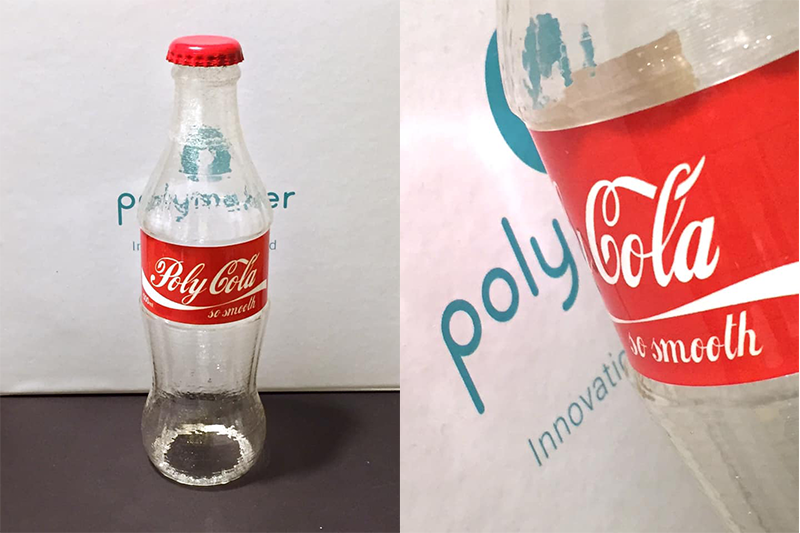
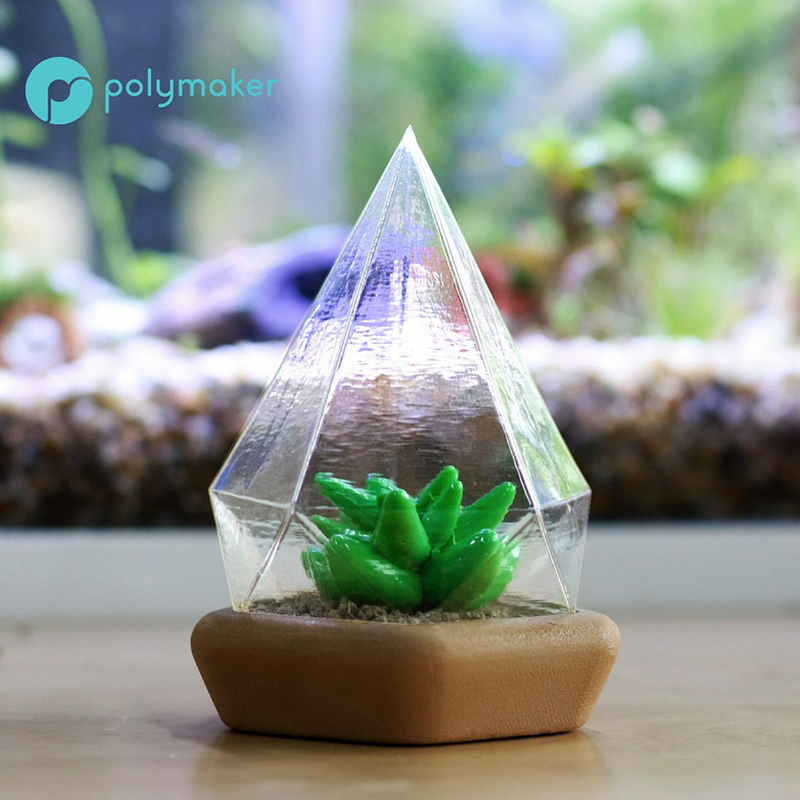
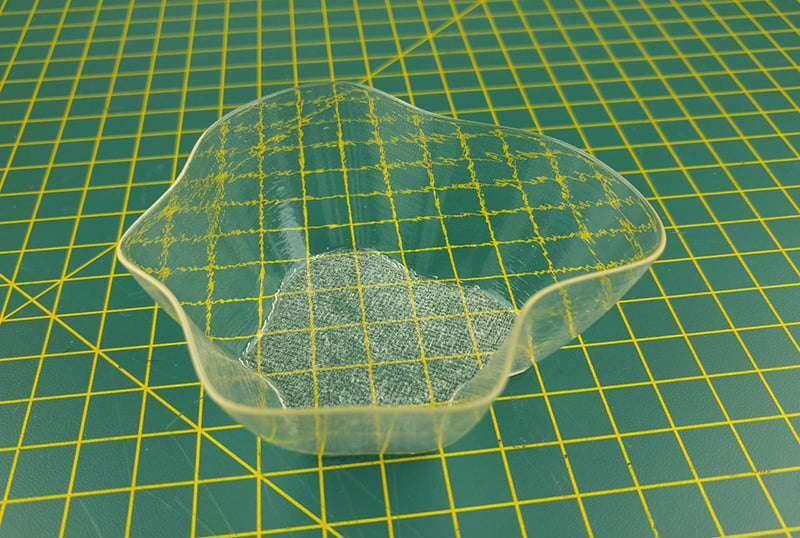
PolySmooth™ Transparent can create some of the highest transparency parts that can be printed with FFF/FDM technology. Following our tips below should help you on your way to creating highly transparent parts with glass-like clarity.
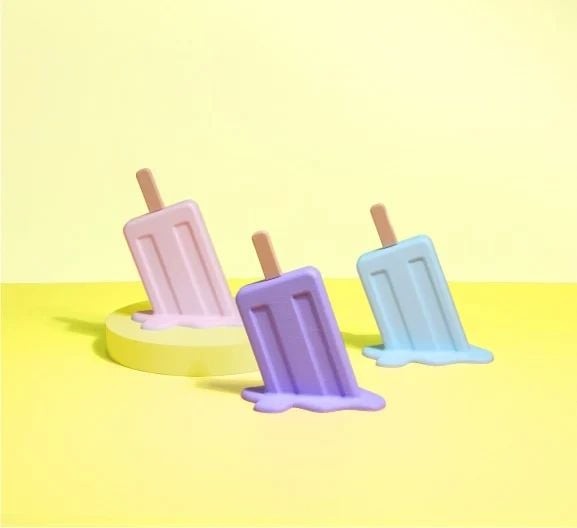
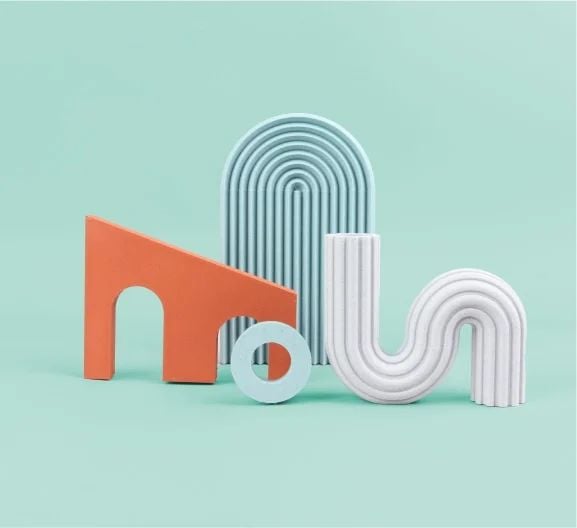
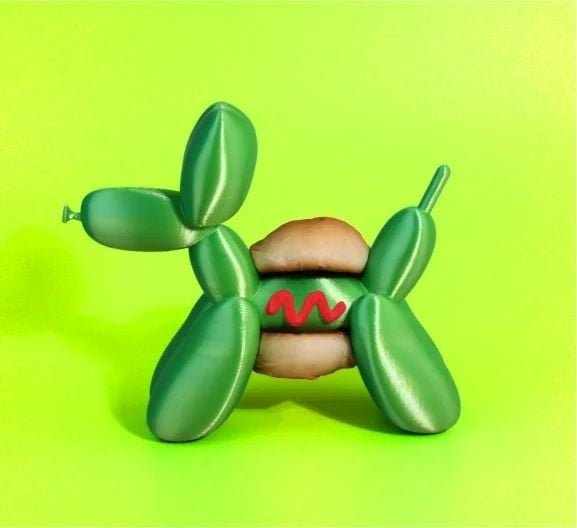
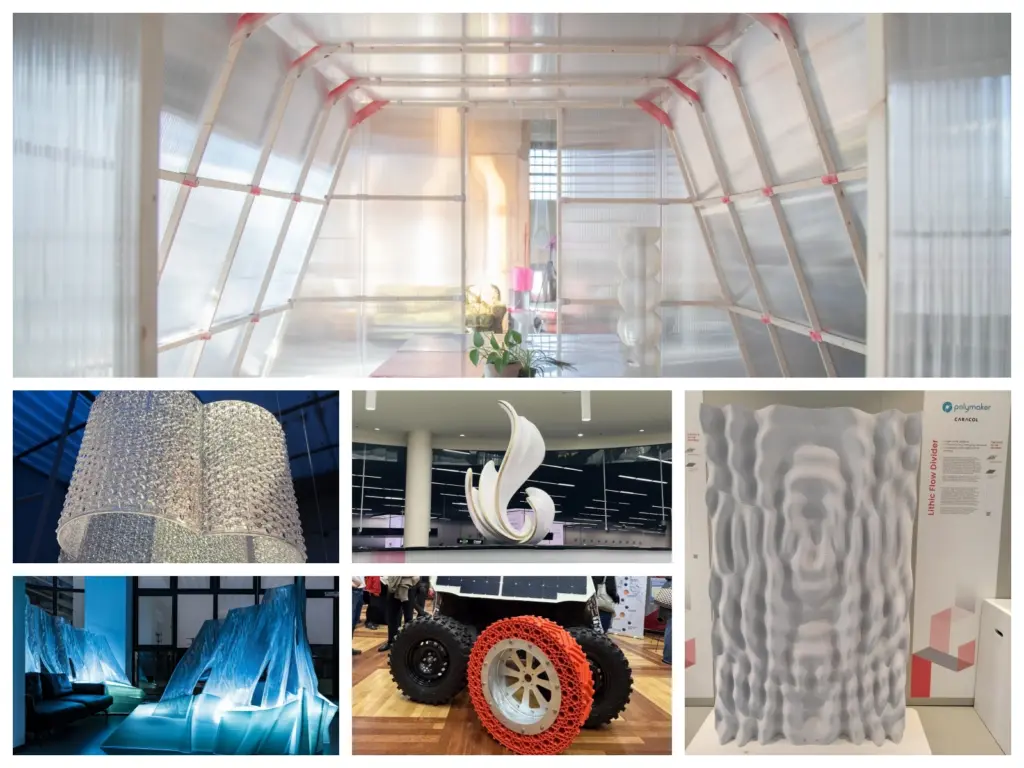
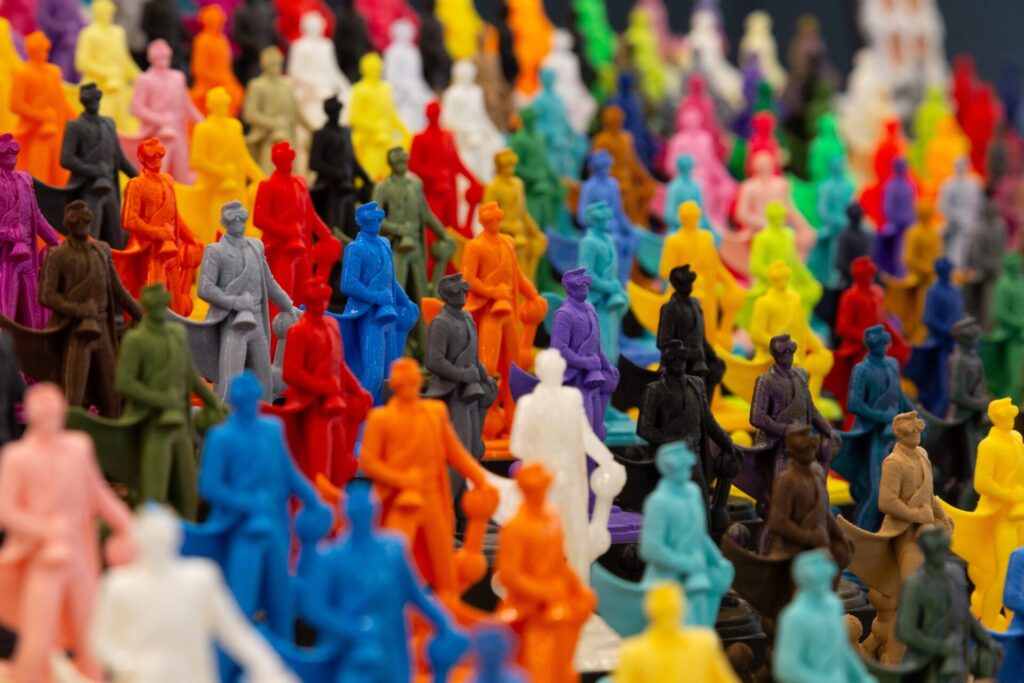
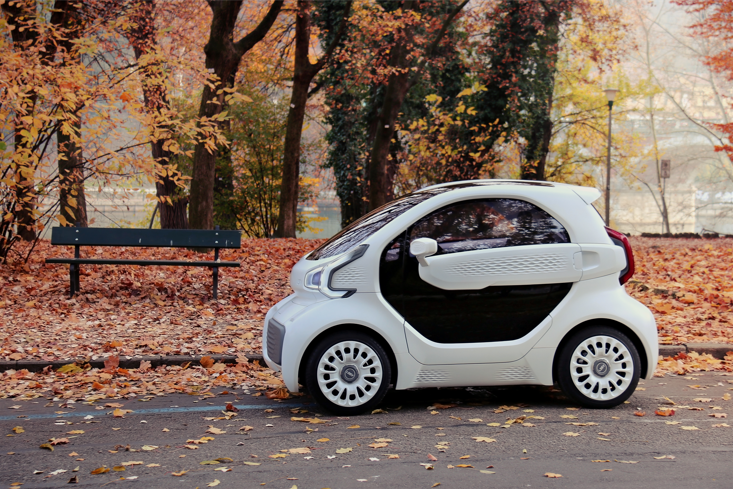
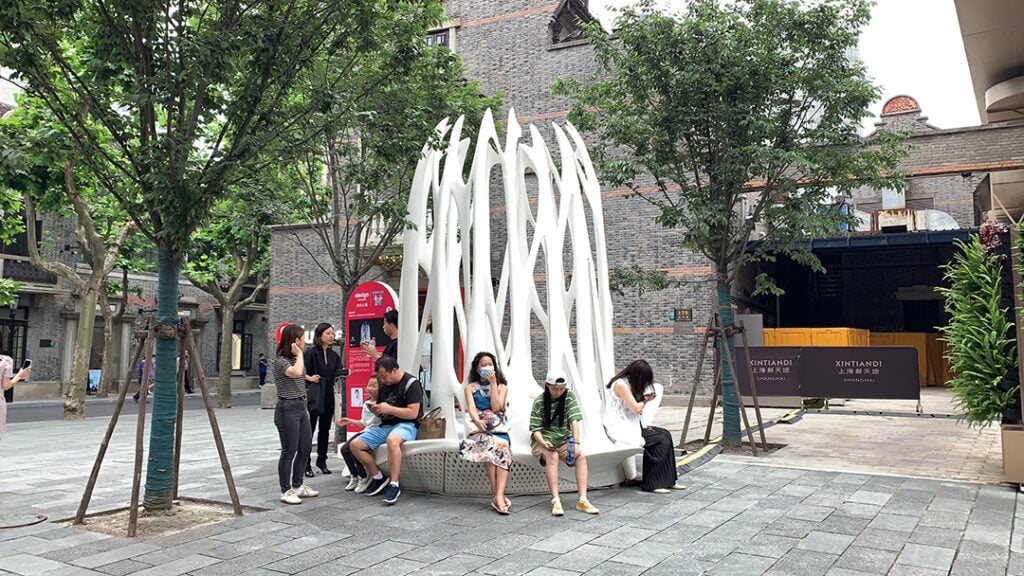
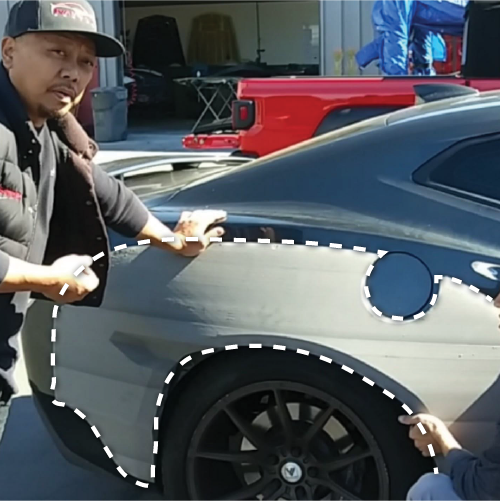
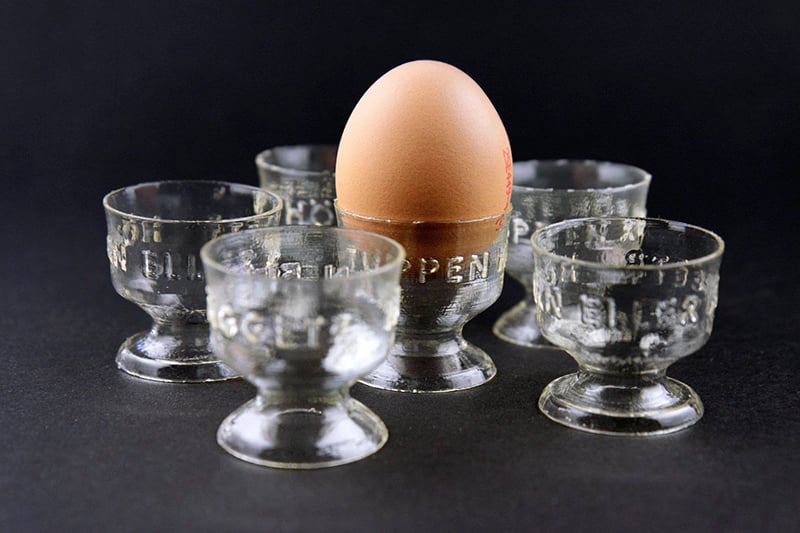
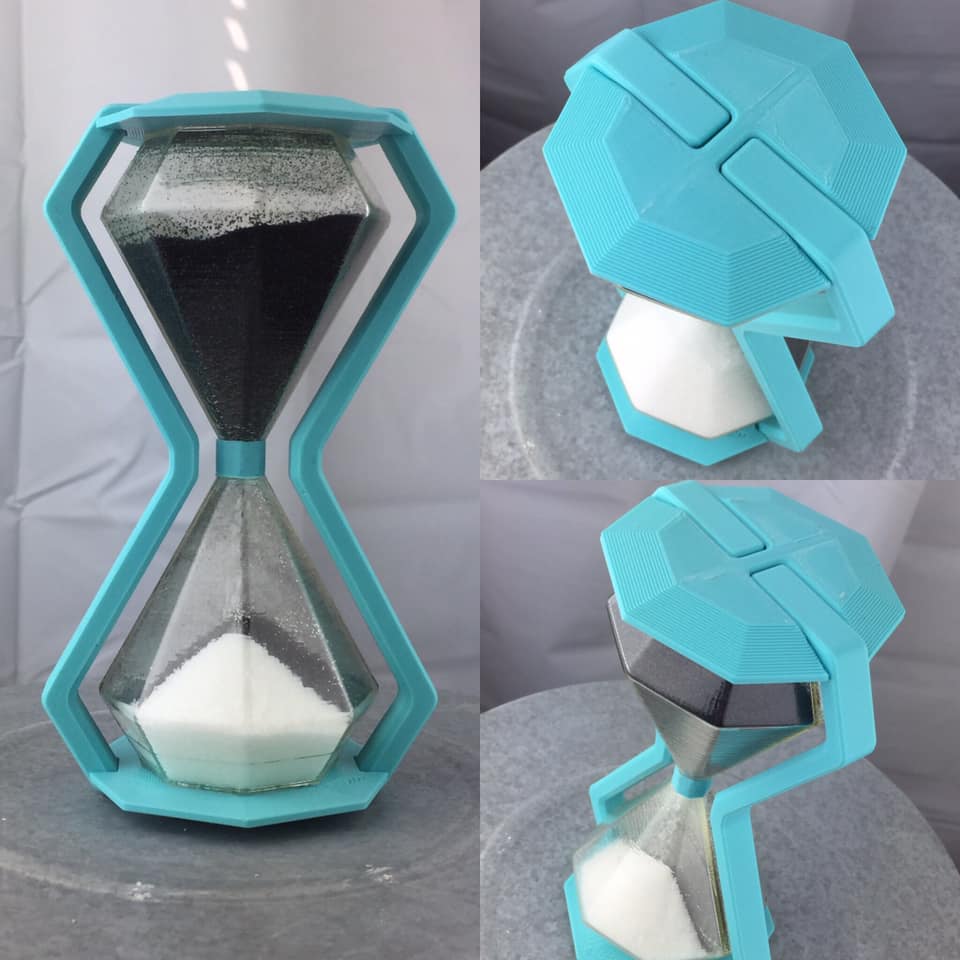
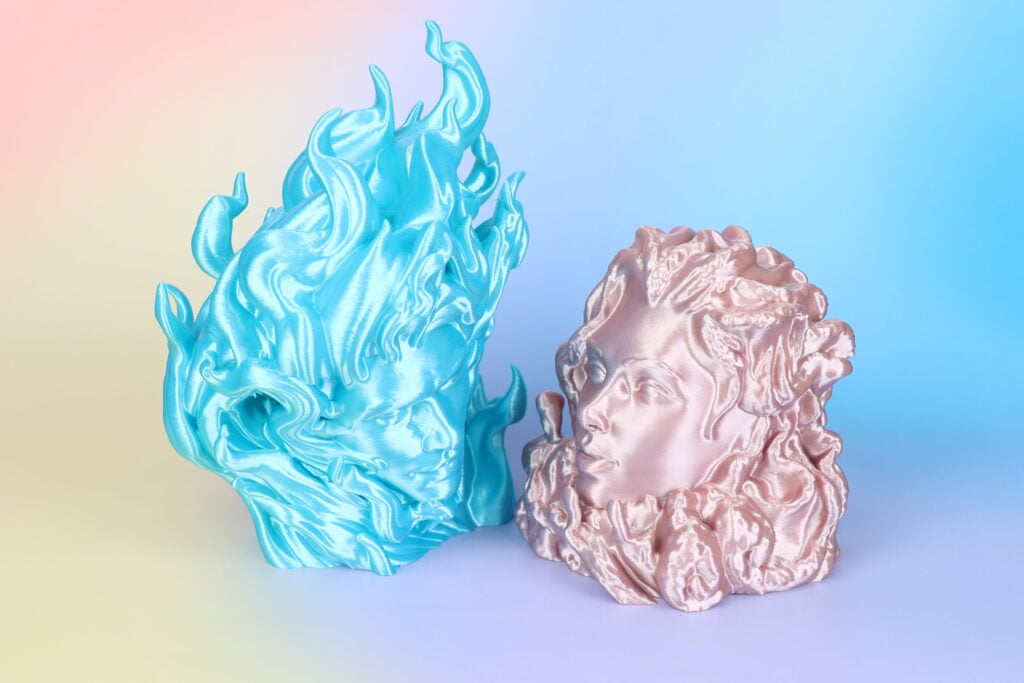
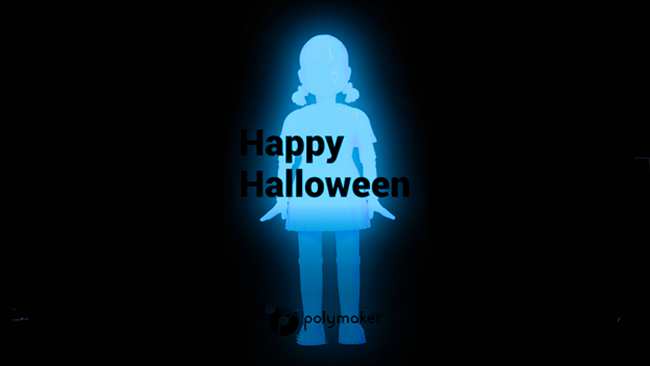
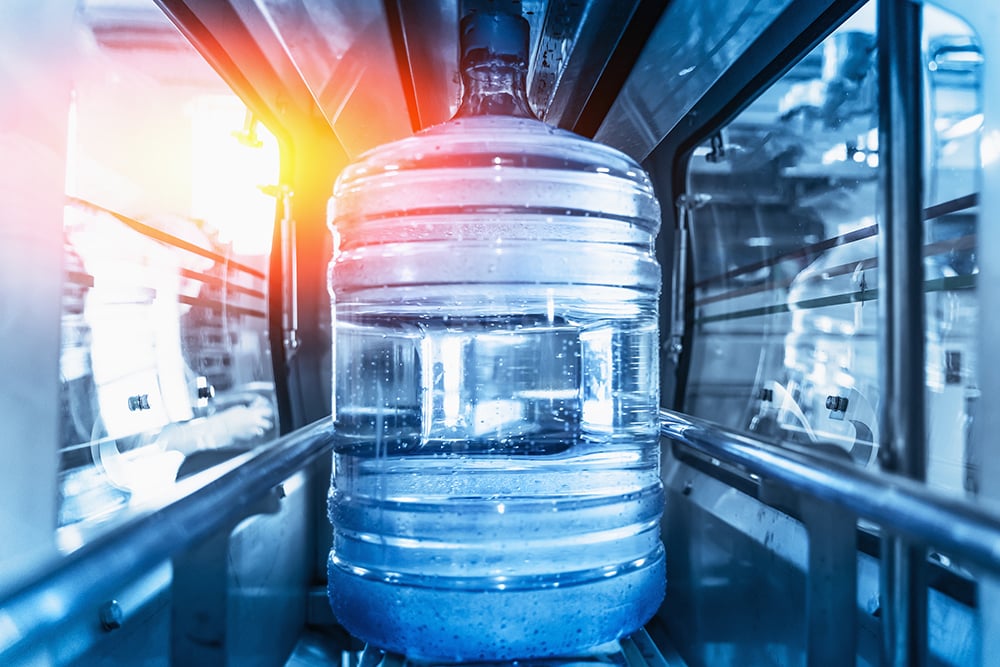
The ability to create highly transparent parts is a great tool for makers and polished parts become completely water and oil resistant. Below we showcase some creative ideas from our community!
Besides, Transparent PolySmooth™ print is watertight and oil-proof. Here are some impressive examples.

Printing Tips
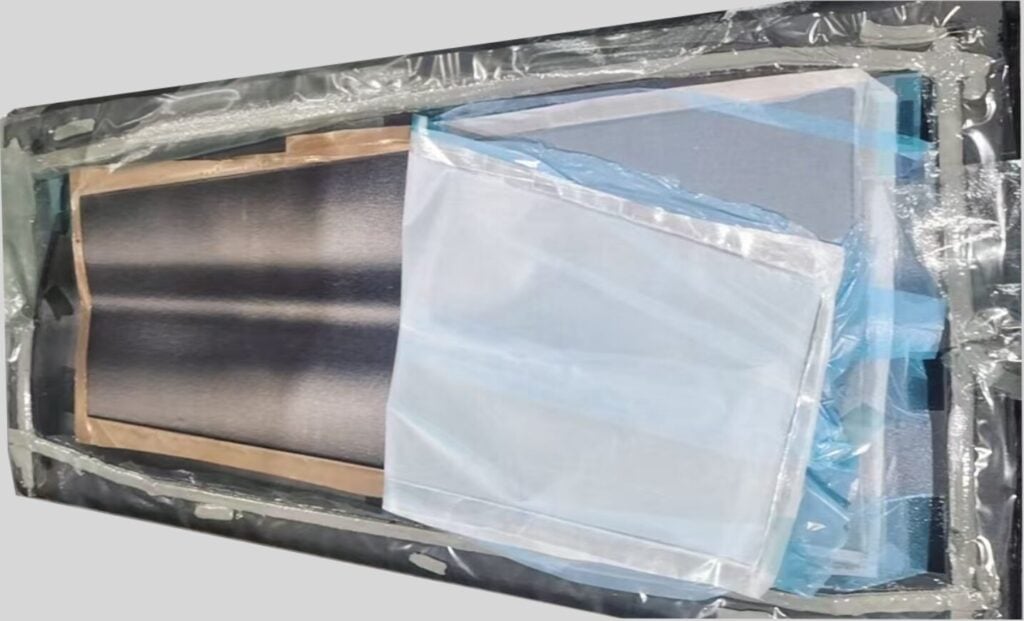
- Make sure that PolySmooth™ is dried before printing it, this ensures there won’t be any bubbles generated during the printing process. (Drying setting: 60℃ for 12hours) PolySmooth™ is a hygroscopic material and can absorb moisture from the air, this can cause bubbles in the filament when printing and will not produce the best optical clarity of the transparent parts. [Compulsory]
- Choose vase mode (spiral mode) or print in a single shell. Printing one shell will produce the most transparent results as multiple shells will bend the light more. [Compulsory]
- Use a bigger nozzle size. The polishing process of PolySmooth™ will soften the material, this means that thin parts may buckle under their own weight when polishing. Using a larger nozzle will help add mass and strength to the single shell walls allowing more complex transparent shapes. The parts will re-harden after the polishing process. [Optional]
- Decrease the printing temperature. A higher printing temperature will cause more bubbles to form between the layers, PolySmooth™ will print at temperatures as low as 160°C however we find that 180°C produces the best results.
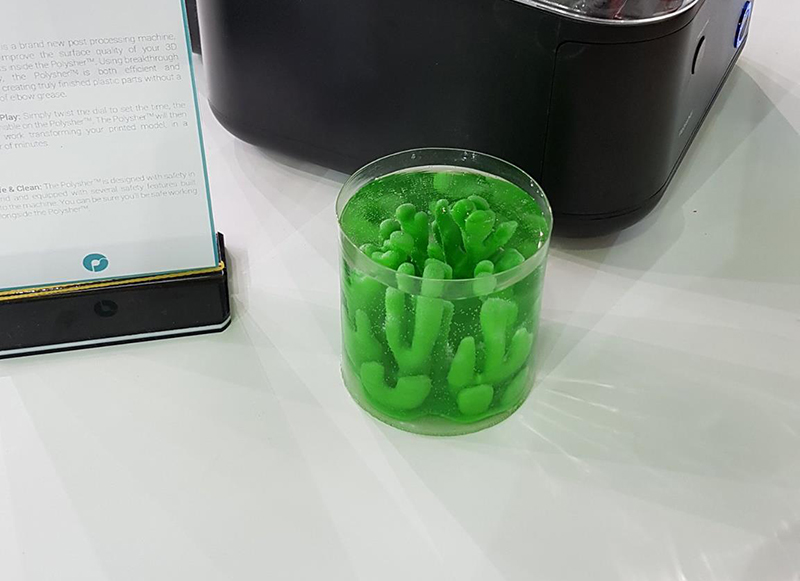
- Use the Polysher™ to polish the models. The Polysher™ delivers a constant stream of IPA to the PolySmooth™ models which will gently and evenly turn the surface transparent. As your walls will be very thin, its best to polish in short bursts allowing for some drying time in between cycles. 5-10 minute cycles with 5 minutes inactive drying time inside the Polysher™ delivers the best results. A single-walled print should be nicely polished in 2-3 cycles of 5 minutes each.
- Alternatively spray alcohol onto the print surface evenly, repeating this operation until the print becomes transparent. Spray IPA all over the model and completely coast all surfaces, the majority of this IPA will evaporate away so, you will need to repeat the process every 5 minutes for 4-5 coats. Don’t touch the polished surface until it has resolidified [Compulsory]
- Remember to polish both sides of the shell, internal walls can be shielded from polishing in certain geometries. In some case,IPA can be poured into enclosed vessels and shaken about to coat all surfaces. Remember to empty out any residual IPA if using this technique as the polishing process will be too aggressive with pools of IPA contained inside. [Compulsory]
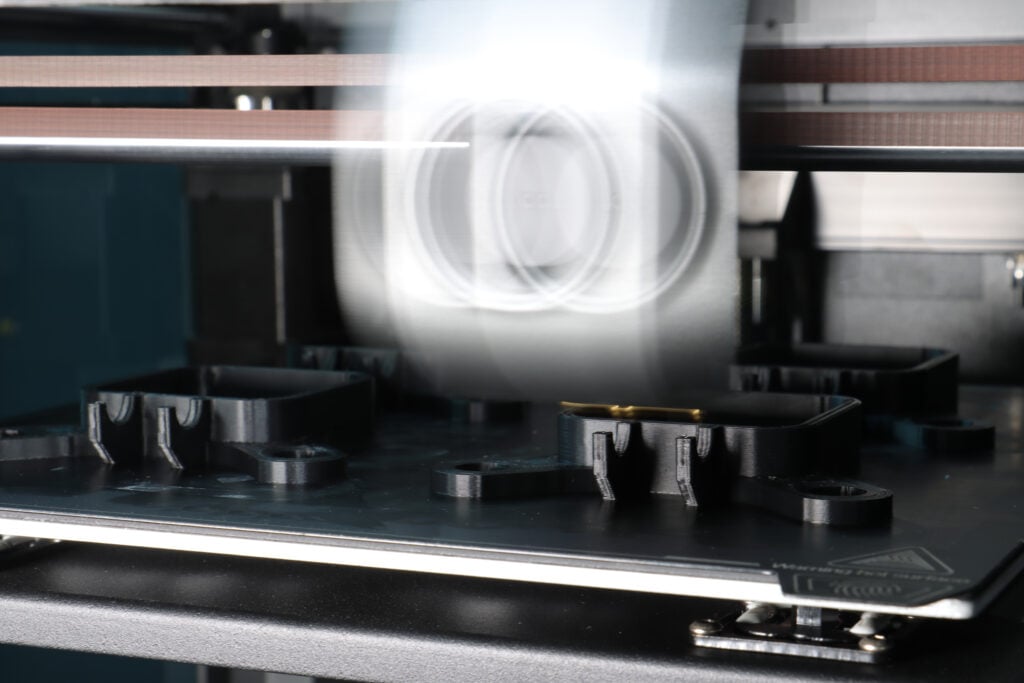
- A fan can be used to accelerate the drying and solidification process. Point a fan at your model and leave for a few hours, the surface will harden and can be handled after 10 minutes, it will then take a further 24 hours to fully harden. [Optional]
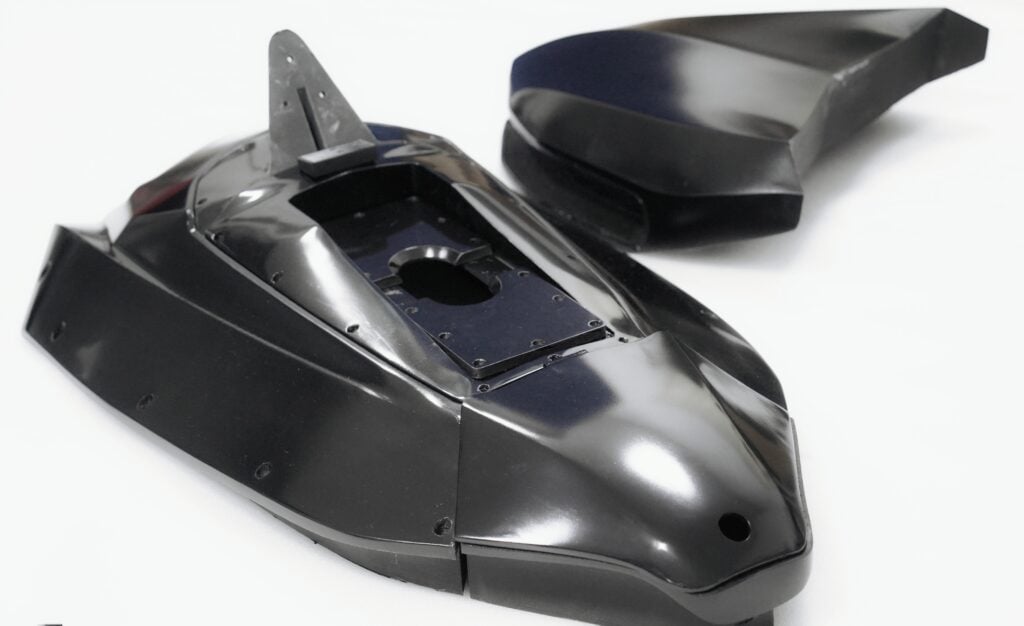
Knowing these tips, you ought to be able to print your own transparent models seen in the pictures above.
![]()


Please fill in the form below or if you have other questions are not included in the form, please contact us through [email protected]. We will get back to you soon.
Please fill in the form below or if you have other questions are not included in the form, please contact us through [email protected]. We will get back to you soon.