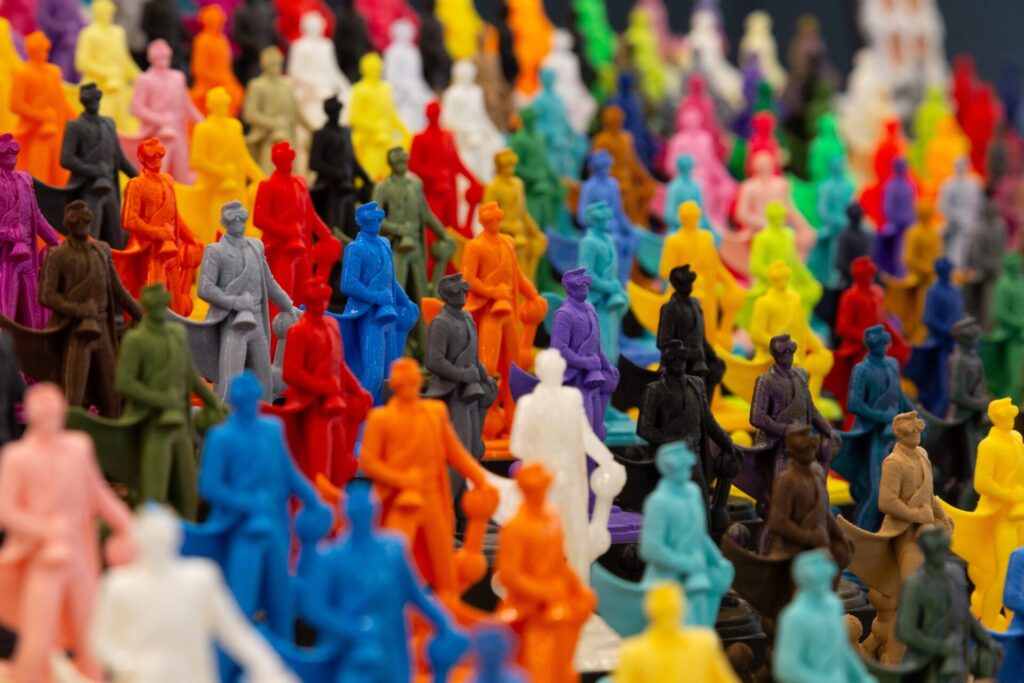
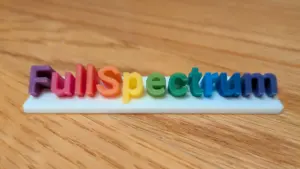
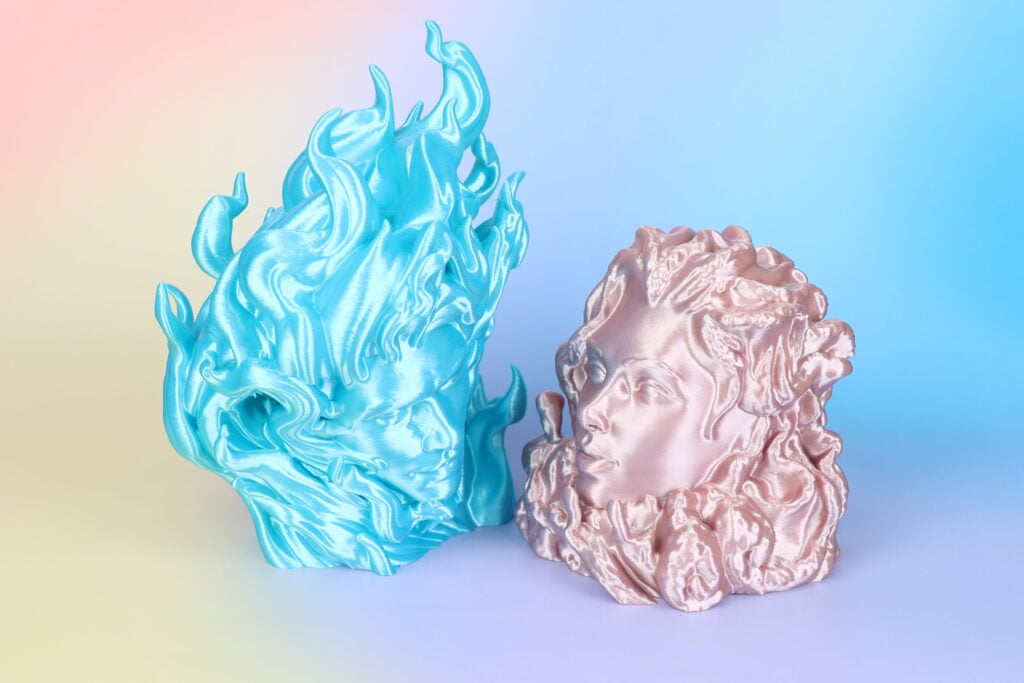
If you’ve ever looked at a multicolor 3D print and thought, “I wish I could do that without buying 12 spools of filament”, you’re in luck. Modern 3D printing technology has the ability to create vibrant multicolor prints, greatly expanding creative possibilities for designers, hobbyists, and professionals. Full Spectrum printing is a community-developed technique that lets you unlock dozens of colors from just a handful of filaments, using nothing but clever layer alternation and a tool-changing 3D printer.
Different technologies exist to combine colors and materials during the 3D printing process, allowing users to tailor their approach based on the desired visual outcome and the specific market application, whether in design, fashion, or electronics manufacturing. The choice between full-color and multi-color printing depends on whether you need blended gradients and photorealistic effects or distinct, pre-colored zones for functional or aesthetic reasons.
The main difference between full-color and multi-color 3D printing lies in how colors are applied: full-color printing blends colors for smooth transitions and lifelike results, while multi-color printing uses separate filaments for defined color regions. Each method suits different needs, so understanding these differences helps you select the right approach for your project.
Full Spectrum is a fork of Orca Slicer, which means if your printer has a profile in Orca and doesn’t mind a thousand tool changes, you can try it right now. It started in the Snapmaker community but works on any compatible multi-tool machine.
Full Spectrum is a community fork of Snapmaker Orca Slicer, not an official Snapmaker product, built around one genius idea: alternate filament colors every layer, make those layers ultra-thin, and your eyes will blend the colors together like a pointillist painting.
The workflow is surprisingly intuitive:
The result? A single print that appears to have secondary and even tertiary colors almost entirely for free, using spools you already own. The system, combining both hardware and software, works together to automate the entire multi color printing process.

Here’s where it gets nerdy-fun. Your eyes can only resolve about 0.2mm (a fifth of a millimeter) at arm’s length. So if your layer height is thinner than that, your brain starts blending the stripes into smooth color transitions automatically.
There are four key factors that determine how convincing your color blends look:
Think of translucency as your secret weapon. Opaque filaments give you sharp, defined color edges — great for bold graphic prints. Translucent filaments give you that soft, painterly, almost watercolor look — especially beautiful on curved surfaces and shallow slopes.
Maintaining appropriate wall thickness is crucial for achieving vibrant colors, optimal transparency, and ensuring structural integrity in multicolor 3D printing. Proper wall thickness also directly impacts the level of detail you can achieve, allowing for finer, more intricate features and realistic textures in your prints.
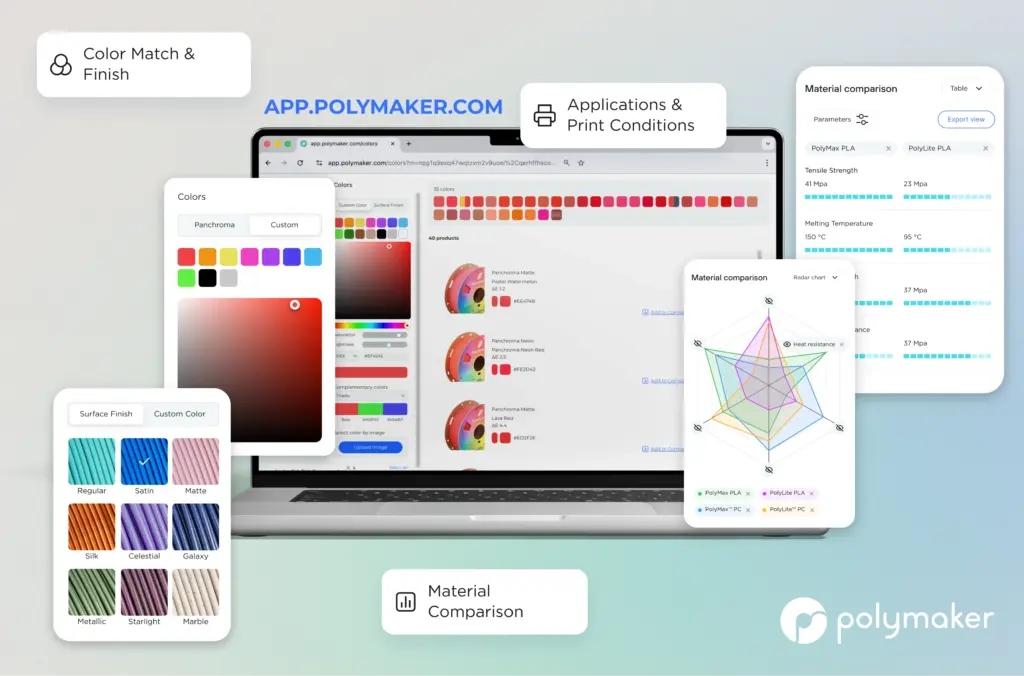
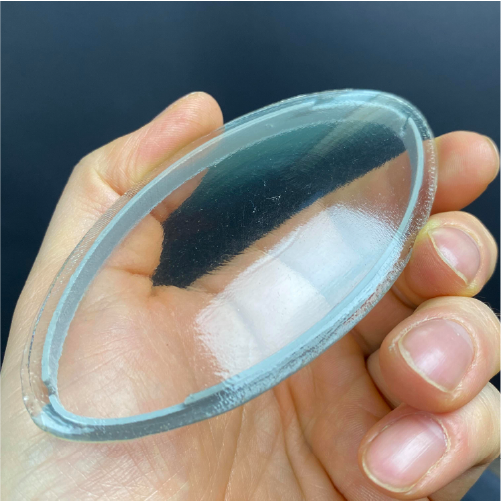
Full Spectrum enthusiasts borrow the TD (Transmission Distance) metric from HueForge to measure how translucent a filament really is. A TD of 0–1 means very opaque; a TD of 10+ means quite transparent. The choice of material plays a crucial role in determining transparency and overall print quality, as different materials can produce varying levels of translucency and visual effects.
The bad news: TD values aren’t perfectly consistent. The same spool can measure differently depending on your printer settings, environment, and even the batch. So always measure your own filaments before committing to a big print.
Here are some options for measuring TD:
This is where personal taste takes over and that’s a feature, not a bug.
| Palette | Best For | Vibe |
|---|---|---|
| CMY + White | Pastels, Easter eggs, spring vibes | Soft & dreamy |
| CMY + Black | Dark pastels, moody tones | Sophisticated & edgy |
| Red/Yellow/Blue + White | Rich secondaries + pastels | Classic art class |
| Red/Yellow/Blue + Black | Deep, saturated shadows | Bold & dramatic |
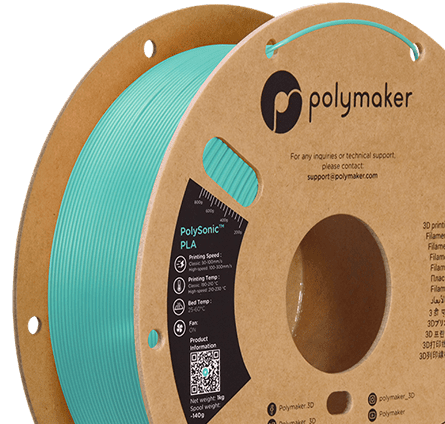
The Polymaker Panchroma translucent PLA in CMY is a standout winner for blending. It's often described as a “golden filament” find by the community. On the other hand, the Inland CMY kit, while widely available, skews very opaque and is better suited for lithophane-style prints where pigment density is an advantage.
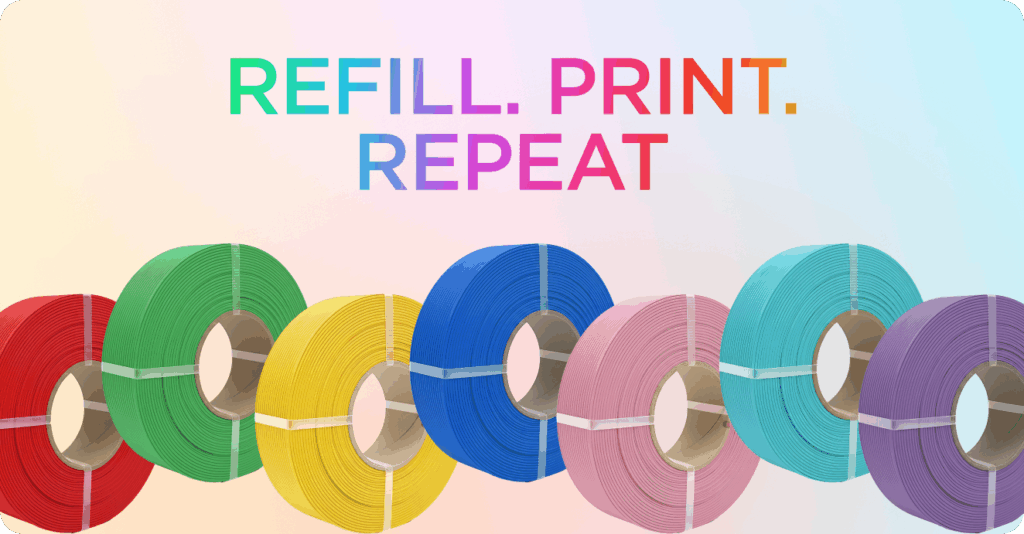
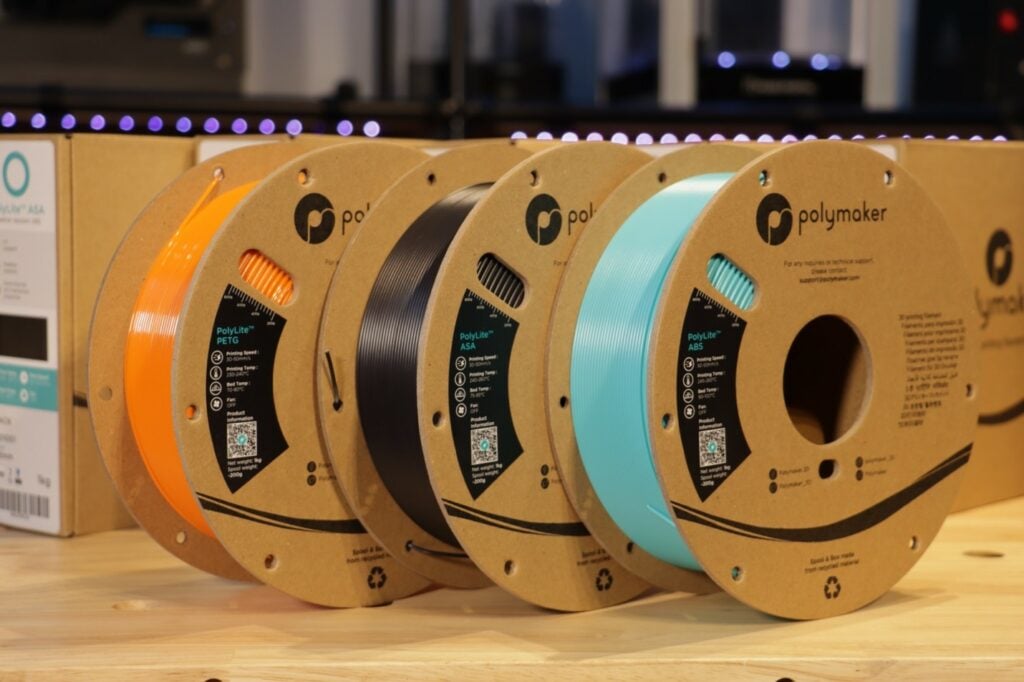
PLA filaments are especially popular for multicolor 3D printing because of their ease of use and the wide range of vibrant PLA filament shades available, making them ideal for beginners and hobbyists. For applications requiring strength and flexibility, nylon filaments are a suitable choice for multicolor printing, while reinforced composites like carbon-fiber and glass-fiber filaments are used when enhanced mechanical properties are needed; checking detailed 3D printing material comparisons can help you choose the right option. Special effect materials, such as glow-in-the-dark or metallic filaments, can also be incorporated to create unique shades and visually striking effects in your prints.
Pro tip: Try to match the TD values of your filaments as closely as possible within a palette. When one color is dramatically more translucent than another, the mismatch creates chalky, washed-out blends instead of smooth gradients.
When diving into full spectrum multicolor printing, it’s important to recognize that the workflow and print time can be quite different from traditional single-color prints. Multicolor printing, especially when layering colors or combining multiple materials, requires a bit more planning and patience—but the results are well worth it, particularly once your printer profiles are correctly imported into tools like Orca Slicer using a step-by-step profile import guide.
First, assigning colors to your model is a crucial step. Careful planning of how and where to layer colors ensures that your final print achieves the desired effect without unexpected color overlaps or muddy transitions. The more colors and combinations you use, the more complex the slicing process becomes, and the more time your 3D printer will spend switching between filaments or materials.
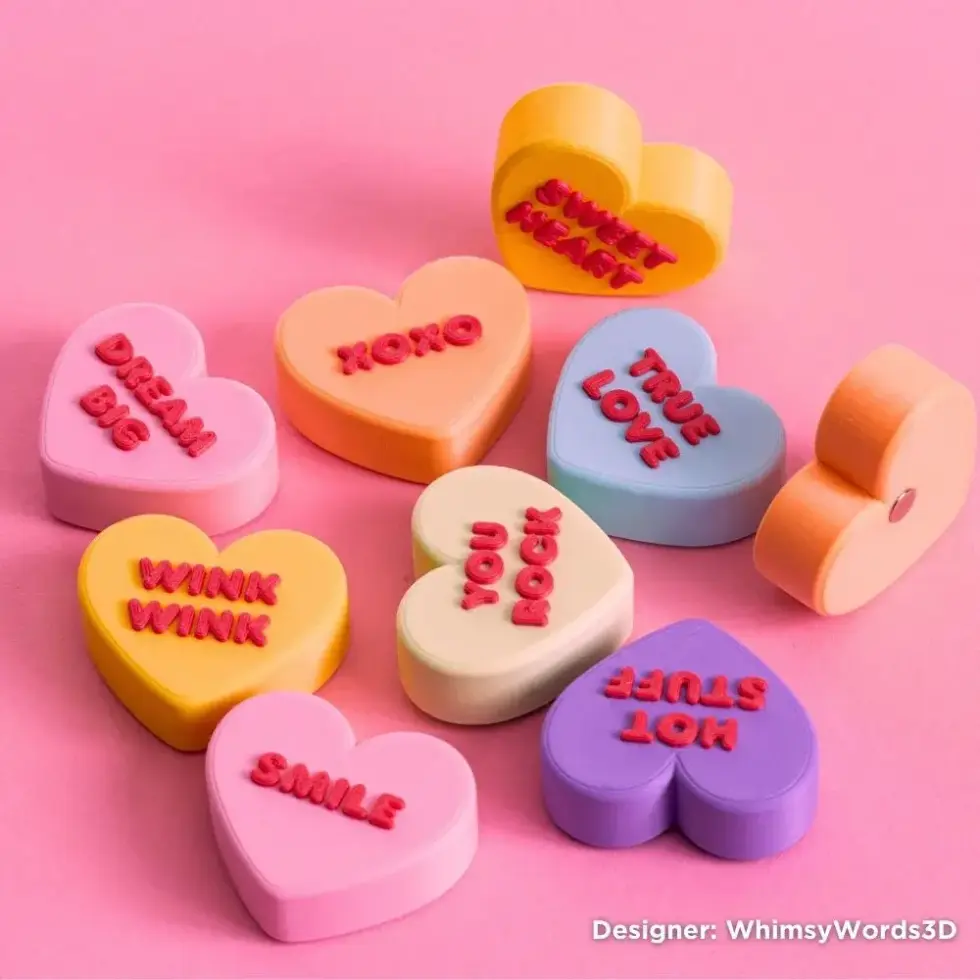
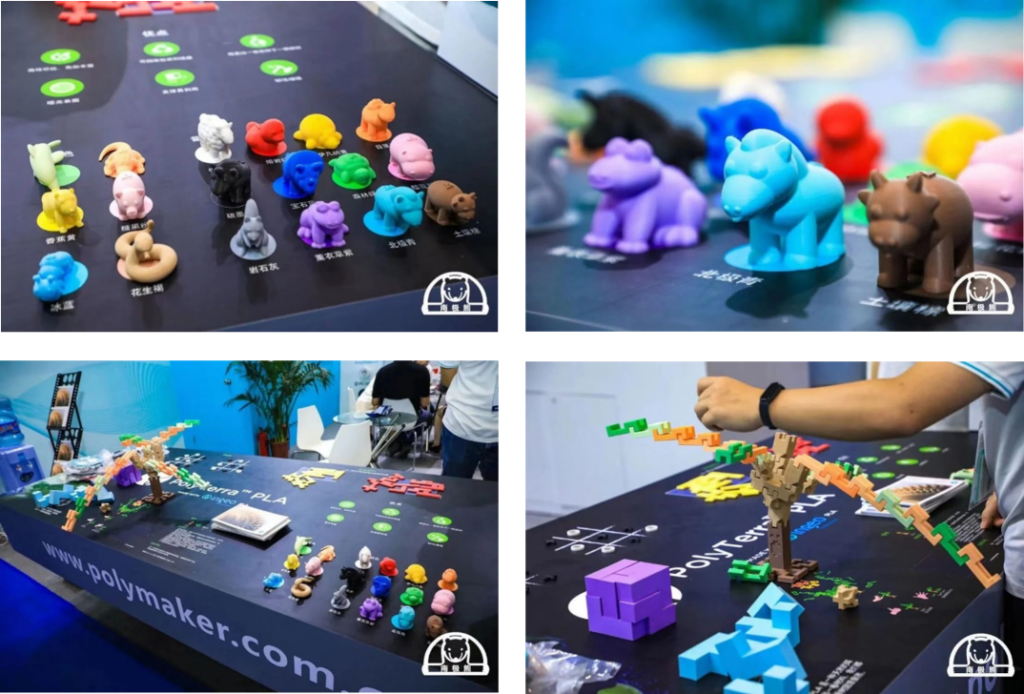
To visualize all possible color combinations, the community developed the D4 palette — a tetrahedron-inspired test print shaped like a 4-sided die. This test print uses multiple colors and precise dimensions to produce a detailed, functional model, demonstrating how multicolor 3D printing can accurately represent complex assemblies.
Here’s the logic: the Snapmaker U1 has four tool heads, each connected to all the others. Flatten a D4 and you get:
Such prints help engineering and design teams visualize moving parts and test assemblies, with distinct colors representing different materials for clearer analysis and communication, especially when printed with professional-grade tough PLA materials.
The result is a single handheld object that shows 26 distinct color combinations in one print. Hunter’s “Peggy Palette” variant on MakerWorld takes this further with dome-shaped tops, revealing a smooth angular gradient across the surface.
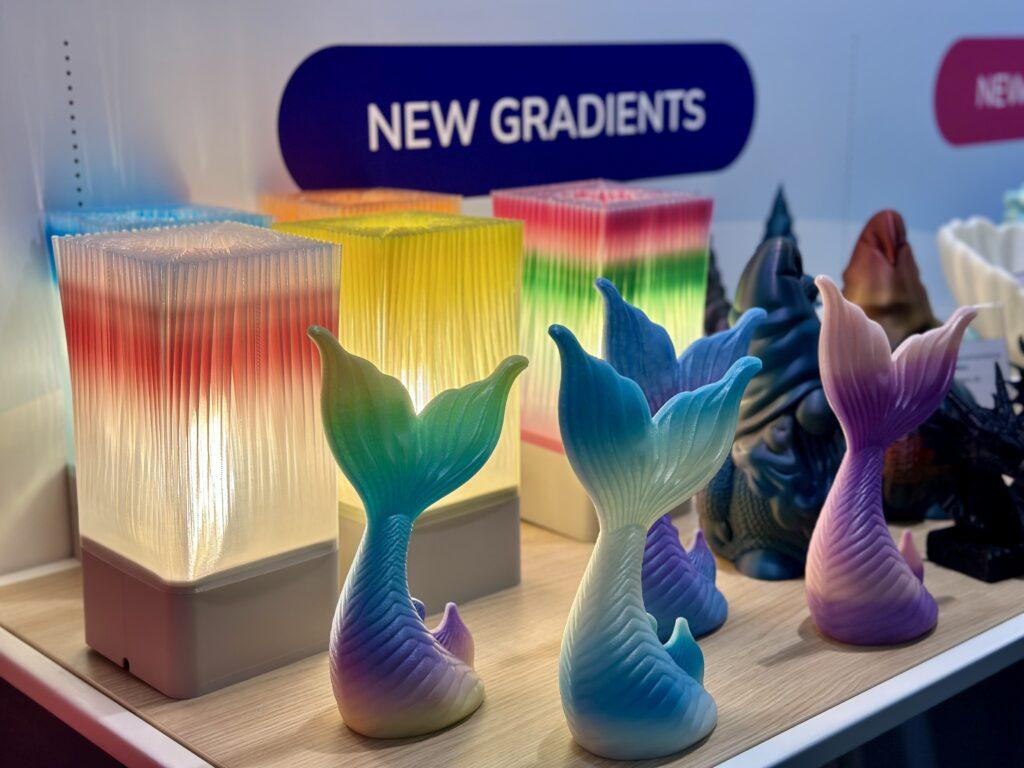
One of the coolest proof-of-concept projects from this technique is a transparent PETG stained glass lantern designed for an electric tealight.
The design features:
The final look of the lantern is achieved by carefully selecting the wall thickness, which is crucial for both transparency and vibrant colors, and by using different colors for each facet to create a true stained glass effect.
With lights out, every color of the rainbow glows through the facets onto your desk and hands. In daylight, the colors sparkle like a stained glass window. It’s genuinely beautiful and it’s printable.
Key slicing tip for this print: Set your small perimeters threshold to 5mm at 50mm/s to slow down on tiny extrusions. Those short moves can cause blobs and branching if your printer is flying at full speed.
Nothing stress-tests a color theory like a twisty dragon egg fidget toy printed in 11 colors from 4 filaments.
Using the Panchroma CMY set with Snapmaker white, sliced at 0.12mm layer height:
When using a single extruder printer for multicolor 3D printing, the process often involves frequent pauses and manual filament swaps. This method, while straightforward and not requiring additional hardware, significantly increases print time and leads to more material waste. In single extruder setups, the printer must purge and flush the old color out of the nozzle before starting a new one, which adds to filament waste and extends the overall print duration.
The takeaway: 0.12mm is a solid compromise between print time and color quality, especially when using semi-translucent filaments.
Let’s be real about the limitations. Full Spectrum gives you dozens of colors, not millions. Multicolor-capable printers and multi material units carry a higher upfront cost than standard monochrome printers, due to their advanced system requirements and hardware setups such as multiple extruders or multi-material units. Here’s why the gap exists:
Additionally, multi material printing enables the combination of different materials and colors in a single print, expanding creative possibilities and allowing for specific mechanical properties or textures, particularly when using high-temperature, heat-resistant PLA filaments for functional parts exposed to elevated temperatures.
That said, look at that rainbow prints. This is a massive leap forward for desktop 3D printing color capability, and the community is actively working on improvements like variable dithering heights, supported by increasingly capable multi-color 3D printing filament ecosystems.
| Goal | Layer Height | Filament Type | Ratio |
|---|---|---|---|
| Best blending, slow print | 0.08mm | Translucent | 2:1 or 1:1 |
| Balanced quality/speed | 0.12mm | Semi-opaque | 1:1 preferred |
| Fast print, sharp edges | 0.16mm | Opaque | 1:1 only |
Selecting the right shades and print settings enables more detail in your multicolor 3D prints, which is especially important for applications like highly detailed, customized gaming miniatures and decorative figurines, and benefits from having access to a broad range of 3D printing filament materials.
The Full Spectrum community proves every week that constraints breed creativity.
Multicolor 3D printing eliminates the need for tedious post-processing steps like hand painting, sanding, or manual assembly of painted components, streamlining the workflow and saving significant time. This technology allows makers to embed logos, text, or even QR codes directly into the object's surface, and enables the creation of life-like, detailed models or the assembly of complex objects from separate prints with improved alignment and fit, especially when you pair it with a wide catalog of specialty 3D printing filaments.
One maker had only the red, yellow, black, and white filaments that shipped with their U1 — and used Full Spectrum to print leafy botanical designs with stunning green and brown that technically aren’t in their filament lineup. Another member painted the Wizard model by RS Moriendi3D in 10 colors across 45 hours and 3,600+ tool changes. That is commitment.
Korean YouTuber Book Ledge has been creating some of the most technically ambitious Full Spectrum prints since day one, while developer Radu built the slicer fork itself and is already experimenting far beyond what the current version officially supports.
Full Spectrum is a fork of Orca Slicer, which means if your printer has a profile in Orca and doesn’t mind a thousand tool changes, you can try it right now. It started in the Snapmaker community but works on any compatible multi-tool machine.
QP3VASEHK9
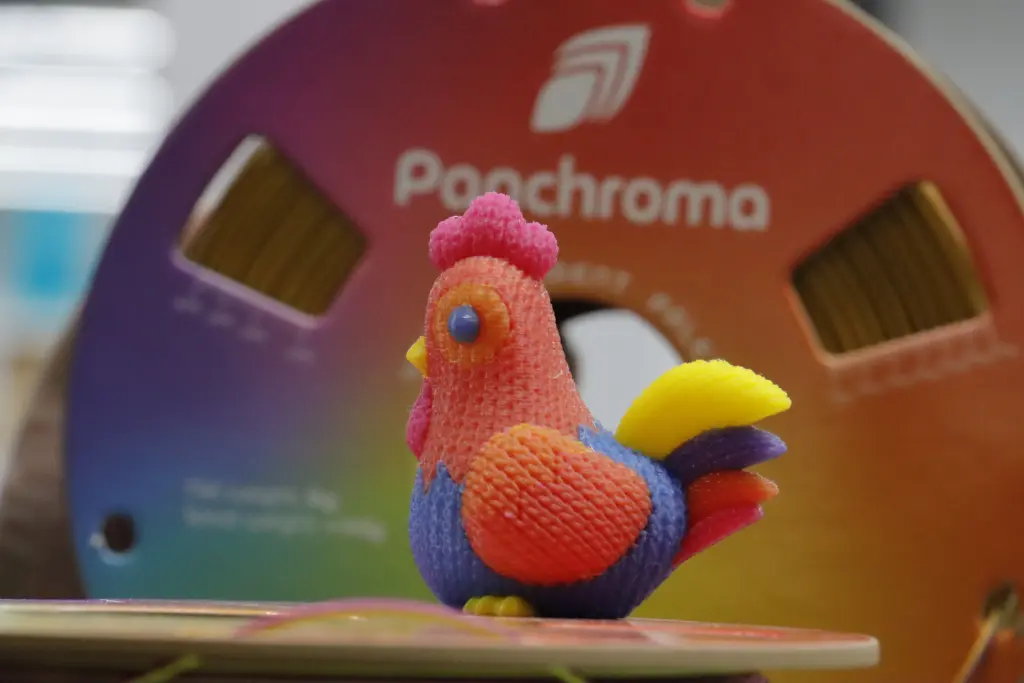
The bottom line: you don’t need a bigger filament budget to print more colors. You need thinner layers, the right translucency, and a willingness to print test chickens until things look right. Welcome to the rainbow side of FDM printing.


Please fill in the form below or if you have other questions are not included in the form, please contact us through [email protected]. We will get back to you soon.
Please fill in the form below or if you have other questions are not included in the form, please contact us through [email protected]. We will get back to you soon.